
Install Zebra Printers on Lab Computers
Instructions to install Zebra printers over the network.
Download and install Zebra Setup Utilities
This is the main program that you will use to install the printer to your system. The printer is not installed through the normal Windows Printer Setup. This program will install their own “ZDesigner Port Monitor”.
https://www.zebra.com/us/en/support-downloads/printer-software/printer-setup-utilities.html
Once the utility has been installed, it is now time to assign a port to the Zebra printer that you would like to install.
Zebra Printers
ZT410 is a 200 dpi printer that has a 3 x 2 inch label ribbon installed. This printer is used for making larger labels.
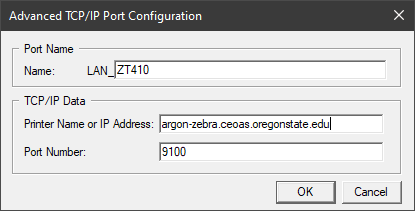
Printer Network Name: argon-zebra.ceoas.oregonstate.edu
ZT411 is a 300 dpi label printer that is a 1 x 0.5 inch label ribbon installed. This printer is used for making small labels.
Printer Network Name: argon-zebra2.ceoas.oregonstate.edu
Assign a port via Print Managament
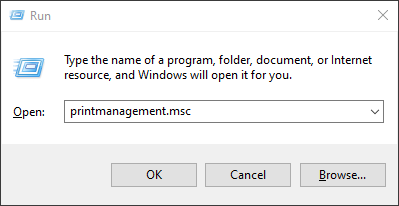
Press WIN + R to bring up the ‘Run’ dialog box and type in printmanagement.msc.
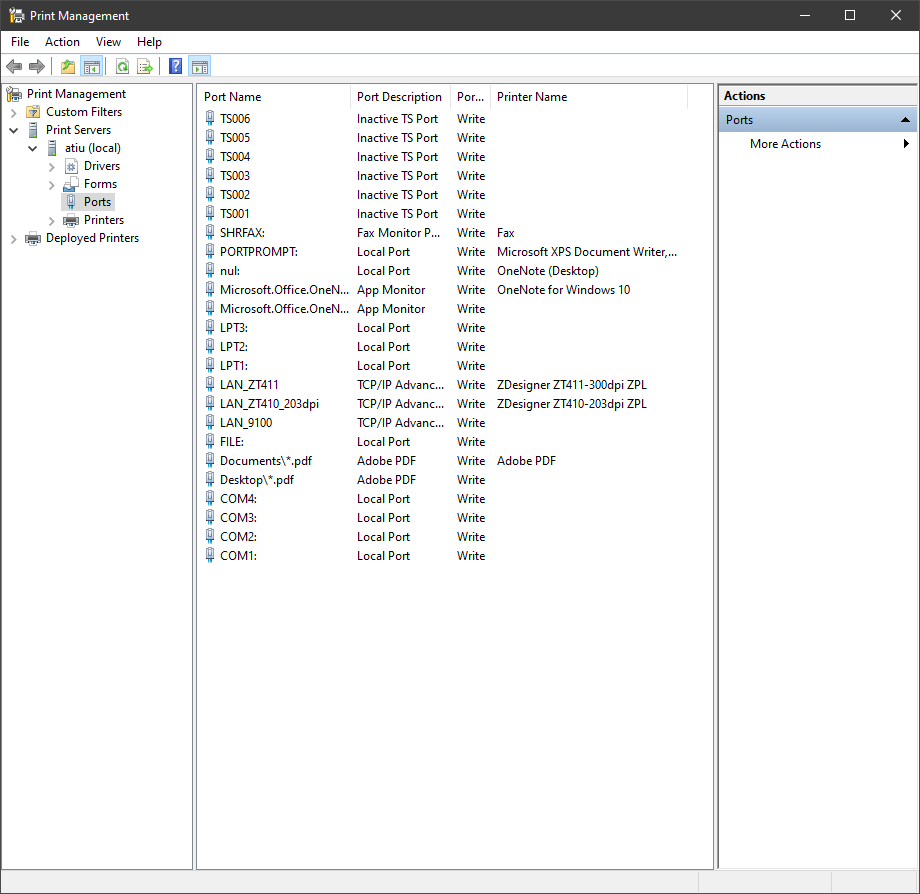
Navigate to to the Ports menu via Print Servers > computer name (local) > Ports.
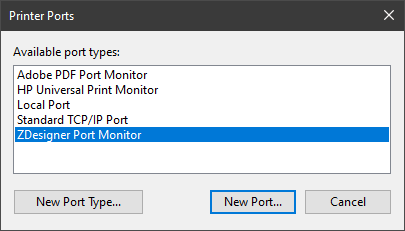
On the main menu bar add a new port via Action > Add port. This will pull up a dialog box. Select “ZDesigner Port Monitor” and hit New Port.
Fill in Name, Printer Name with the name of the printer and their respective IP Address listed above. Port Number can be kept at 9100.
Now that the printer has been assigned a on the Windows side of things, it is now time to add the printer using the Zebra Setup Utilities. After starting the program click Install New Printer.
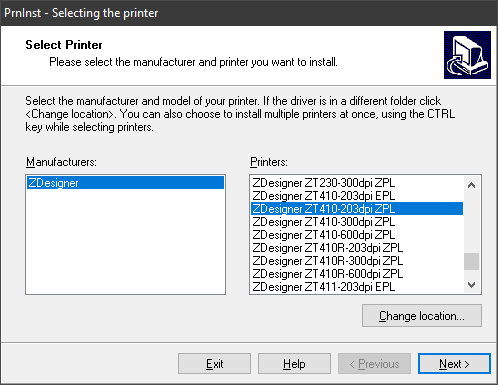
Find the model of the printer in the dialog box and hit next.
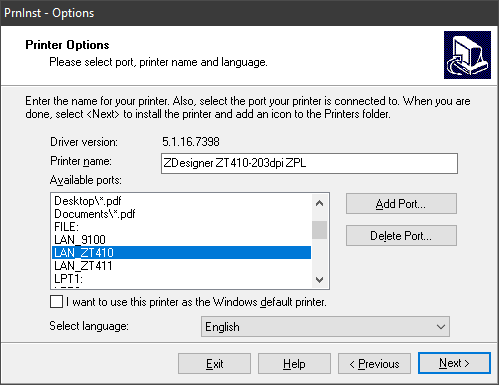
Select the port that you created.
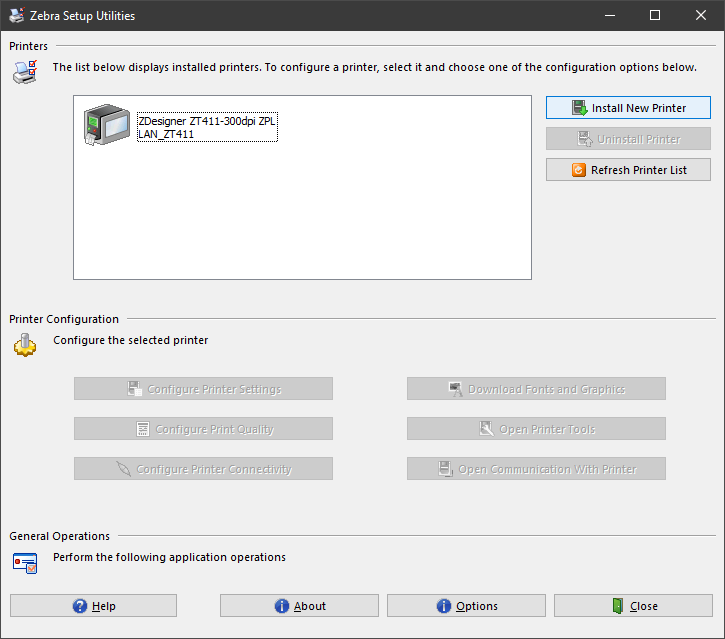
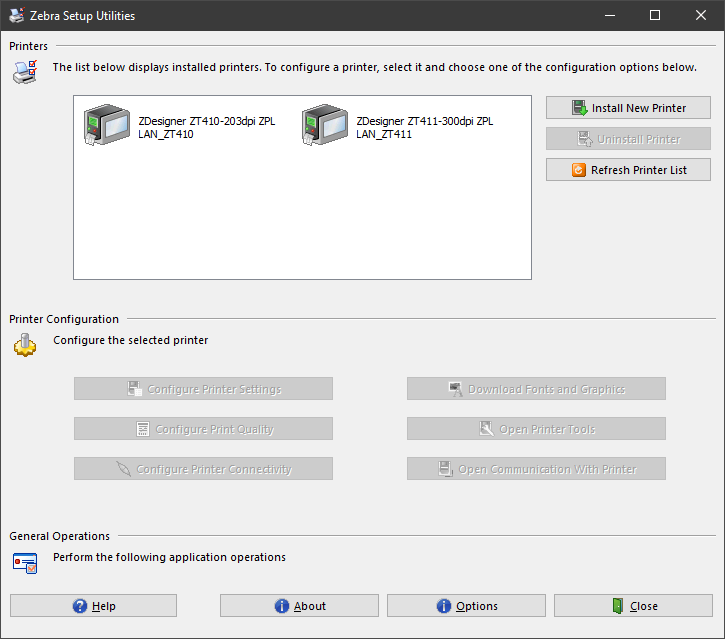
After adding the printer it should show up in Zebra Setup Utilities
To double check if the printer was assigned to the port, you can go back to Print Managament and see that the Port Name is assigned a Printer Name.

Share Printer for Command Line Printing
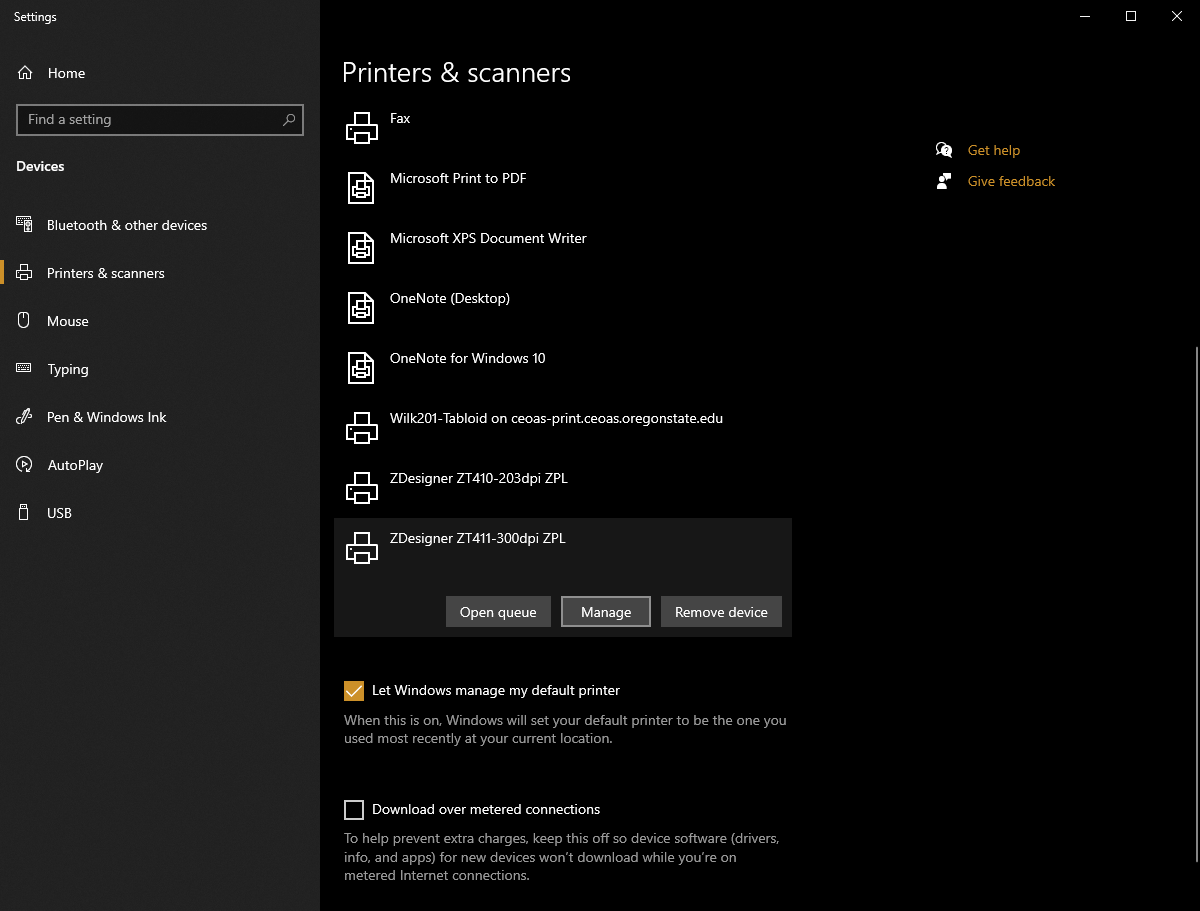
To setup the Zebra printer for printing via command-line the printer has to be shared. Navigate to the Printer and Devices pages. Select the printer you want to share and click Manage.
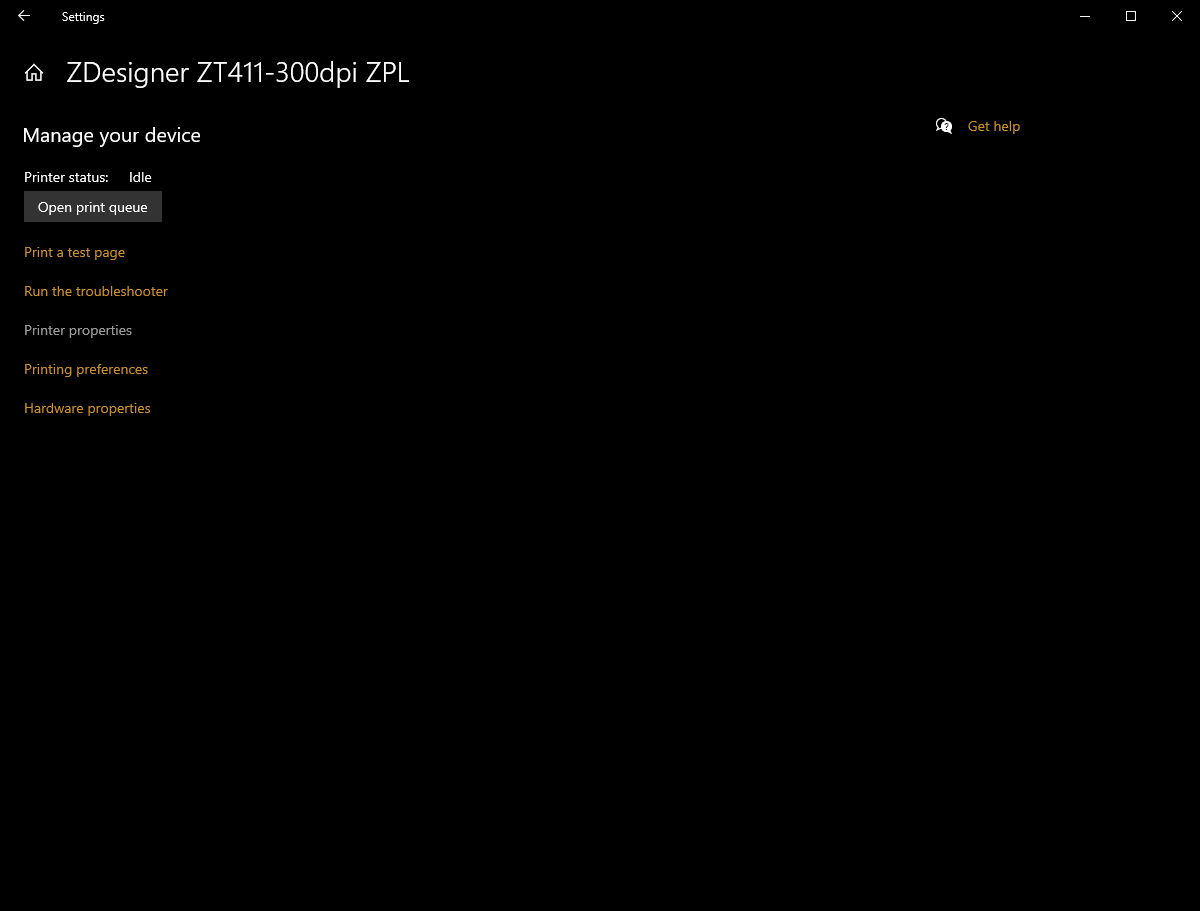
Then on the left side select Printer Properties
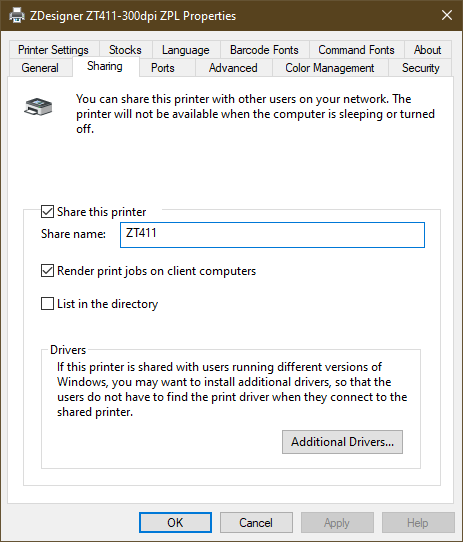
Under the Sharing tab. Check the Share this printer box and assign it the model of the printer.
Send a file to print via the command line using…
COPY /B file.txt \\{computer name}\ZT411
https://support.zebra.com/cpws/docs/programming/lpr_command_line.pdf
https://www.ias.edu/itg/content/connect-network-printer-lpr-windows10