
Large Jaw Crusher Method
Description
This method of crushing a rock is meant for large amounts of material. Ideally the sample would only need to go through the large crusher once and enough fine material should be generated for mineral separation.
Procedure
Workspace Preperation
Wipe down all surfaces with water and ethyl alcohol.
Inspect and clean equipment.
Clean Large Jaw Crusher
Procedure to clean the large jaw crusher in Wilkenson.
Steps
Remove the large steel panel that covers the motor to reach the rear plate bolt.
Remove bolt and pull out the rear crushing plate.
Take out the two steel plates.
Spray the plates with ethanol and scrub with a metal brush.
Wipe down and spray a final time with acetone and be sure that the plates are dry.
Use compressed air blow out all the crusher to remove dust and small rock pieces.
Ensure that there are no rock grains that are wedged in the sides of the bae of the crusher.
Re-instll the steel plates and the bolts. Be careful when tighting the bolt nut. The nut #oes not need to be heavily torqued down.
Wipe down the sample collection tray and install beneath the crusher.
Operating the Large Jaw Crusher
Procedure for crushing samples using the large jaw crusher in Wilkinson. The large jaw crusher is generally used for crushing large amounts of sample. The size of the rock should be no larger than the size of a fist.
Steps
Check and make sure the plates and properly installed.
Turn on the crusher.
Place a single piece of rock in the crusher. If the material consists of smaller than fist #ized pieces, you can pour in a small amount at a time.
If crushing a lot of material, be sure to occasionally check the pan and make sure the #rushed material is not overflowing.
Turn off the crusher.
Sieving samples after crushing
Steps
Setting up your work area for sieving
Gather appropriate sieves.
Check sieves for stuck grains and clean if necessary.
Layout a piece of paper for each sieve you will be using, plus an additional for sample transfer.
Label each piece of paper with the corresponding sieve size.
Check Sieves
In general, always check a sieve before using it to ensure that there is no cross contamination.
Procedure
Wipe down top and bottom of sieve with a tech wipe and ethanol.
Check for grains stuck by looking through the sieve. This is done best by using a bright background (e.g. hold up to light) in order to see grains clogging the mesh.
If there are grains, refer to cleaning methods in sieve_clean.
Sieving Method
Sieving is conducted by using all metal sieves for a given range of grain sizes.
Steps
Set out a piece of paper for each sieve plus the pan and label them with the sieve range and sample ID. These will be used to pour the contents of each sieve as the sample is separated.
Gather available sieves from 150 µm to 350 µm in at least 100 µm increments. Using larger increments will make it more difficult during the picking stage. It is best to have a uniform grain size distribution.
Check sieves for errant grains within the mesh and remove. Proceed with caution as applying pressure on the mesh when removing grains. Too much pressure can warp and damage the sieve, reducing it’s lifetime.
Wipe each sieve with ethanol or acetone. This helps remove fine particles that may contaminate samples.
Stack the sieves along with the bottom pan and pour in enough sample to make a few layers of grains. Filling sieves with too much material will slow down how quickly you can reliably sieve the sample.
Shake the sieves and once the sample appears to have been sieved remove the top sieve and dump out it’s contents onto the labeled paper. Continue to shake the sieve while occasionally tapping the sieves on the table, encouraging the finer material to fall through the sieve.
After working yourself through the first round, repeat the steps by re-stacking the sieves and pouring more sample in until the sample is complete.
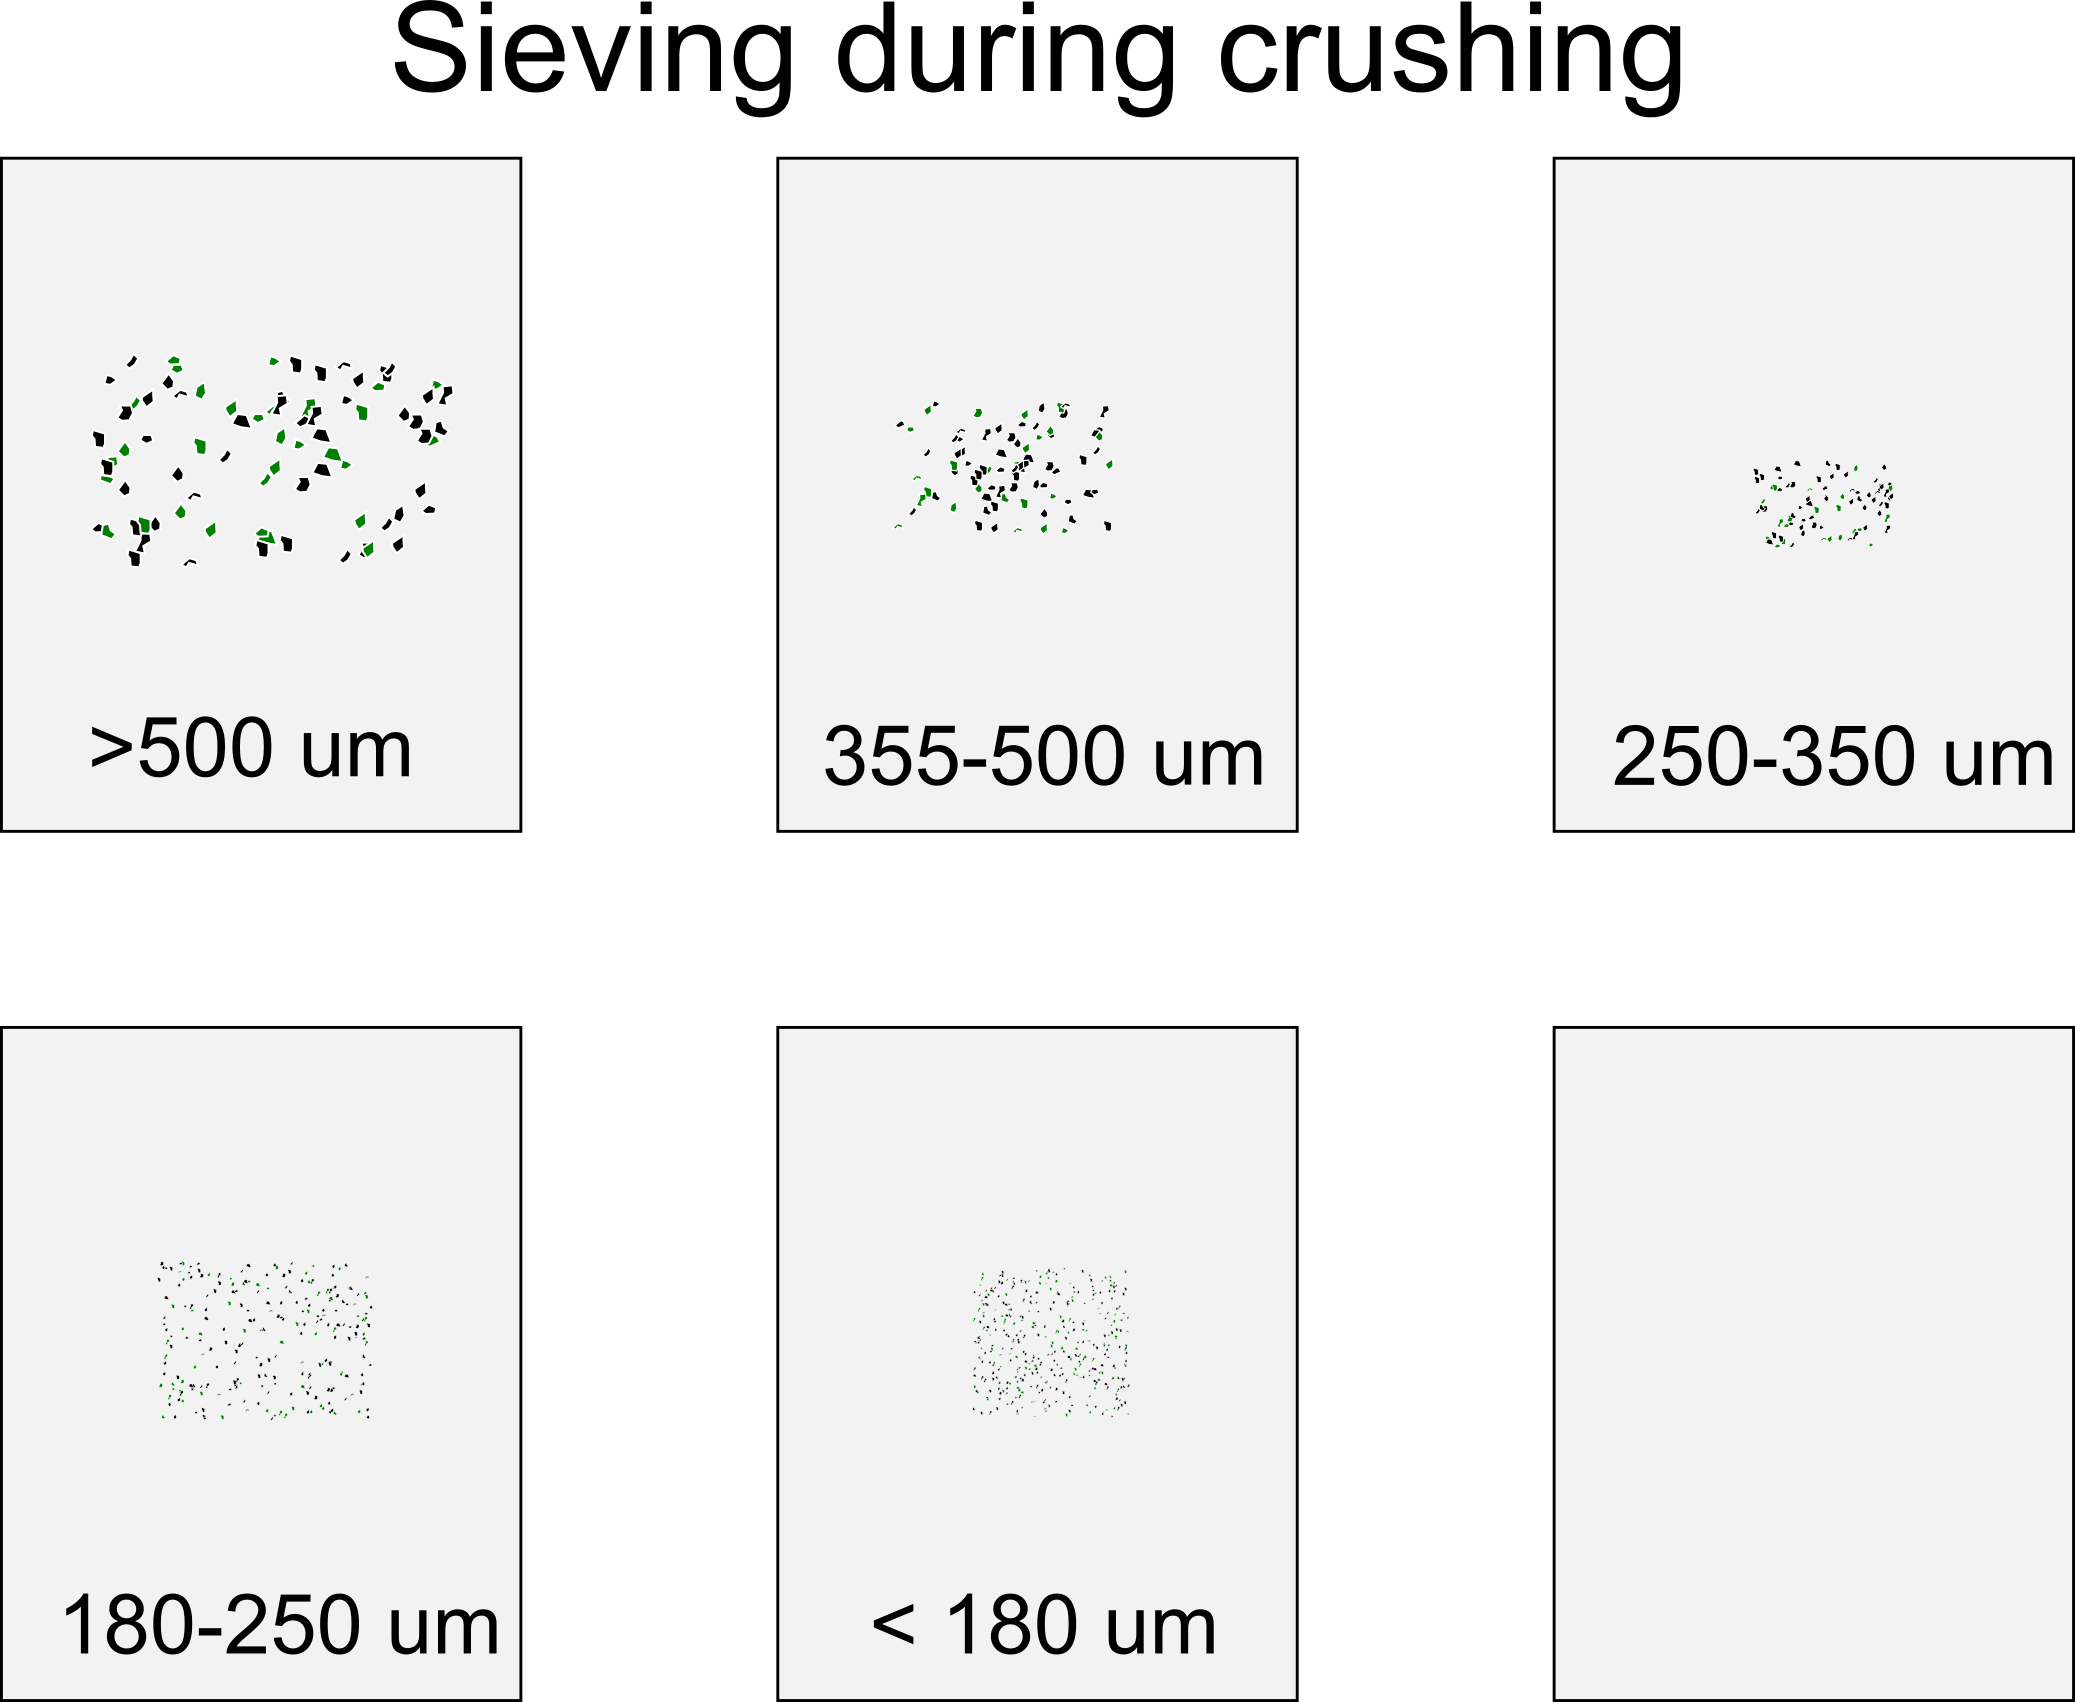
Progression Sieving and Crushing
Sieving and crushing a sample in conjunction with one another allows you to efficiently breakdown the sample. Once the sample has been initially crushed to ~<5 mm in size, the sample should be sieved. The coarsest sieve should be taken and put back into the crusher. This can be repeated until the jaw crusher no longer becomes efficient in crushing the material.
Shaking Sieves
Stack the determined sieve sizes. It is best not to go over 4 sieves.
Pour sample into the top most sieve so that it covers roughly half of the sieve.
Begin gently shaking the sieve side to side. Occasionally gently tap the stack of sieves on a table to knock loosely held grains to the sieve below. Continue to shake until it appears that the finest material has left the topmost sieve.
Remove the topmost sieve and place it on the labeled sheet. Continue the shaking motion and continue this process until you have gone through each of the sieves.
Once you have gone through each of the sieves and emptied them on to their respective sheets, repeat the process until you have gone through the rest of the sample.
Finally Clean the workspace
Clean Sieves
Working over a sheet of paper, or directly over the rock waste bucket, scrub mesh with a fine wire or nylon brush to dislodge grains. Be careful not to apply too much pressure, which could deform the mesh.
With sieve turned upside down, apply back-and-forth strokes of the brush along the strands of the mesh, in circles, etc., to dislodge as many grains as possible.
Turn sieve over and repeat step (a) for the inner side of the mesh.
If necessary, run a needle tool along the wire mesh to pluck out stuck grains. Do not poke/scrape/scratch with a lot of force, as this could damage the mesh.
Repeat steps (a) through (c) as needed until all grains are removed.
Use an air hose to blow dust out of the mesh and off the metal surfaces of the sieve.
Give metal surfaces a final wipe down with a paper cloth and ethanol or acetone.
Clean Large Jaw Crusher
Procedure to clean the large jaw crusher in Wilkenson.
Steps
Remove the large steel panel that covers the motor to reach the rear plate bolt.
Remove bolt and pull out the rear crushing plate.
Take out the two steel plates.
Spray the plates with ethanol and scrub with a metal brush.
Wipe down and spray a final time with acetone and be sure that the plates are dry.
Use compressed air blow out all the crusher to remove dust and small rock pieces.
Ensure that there are no rock grains that are wedged in the sides of the bae of the crusher.
Re-instll the steel plates and the bolts. Be careful when tighting the bolt nut. The nut #oes not need to be heavily torqued down.
Wipe down the sample collection tray and install beneath the crusher.